
 vicevirus’ Blog
Introduction
While browsing through LinkedIn, I came across a boot2root challenge created by Nurul Hanan, a talented CTF player from UniKL, for her university’s internal CTF competition. What caught my attention was the challenge’s unique theme centered around the popular K-pop group “NewJeans”. As a fan of both cybersecurity challenges and the group, I was excited to try it out.
Note: I am pretty sure this is an unintended solution :P
Walkthrough
-
We were given an
.ovafile for us to deploy a machine..ovafile allows us to deploy a virtual machine instance on our computer. .ova file
-
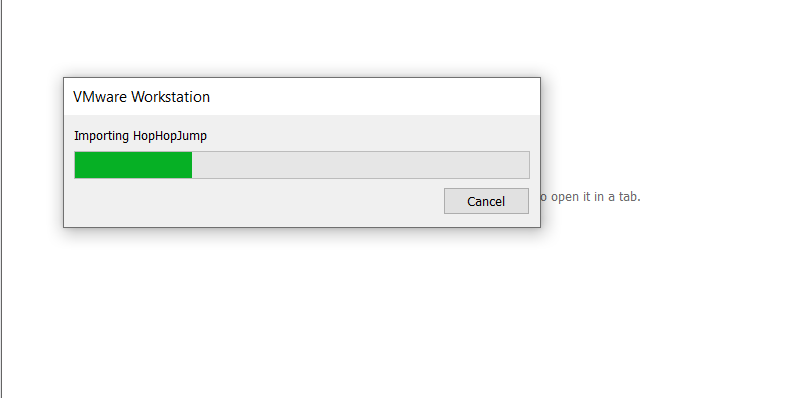
Now.. let’s import it into my VMWare.. Importing..
-
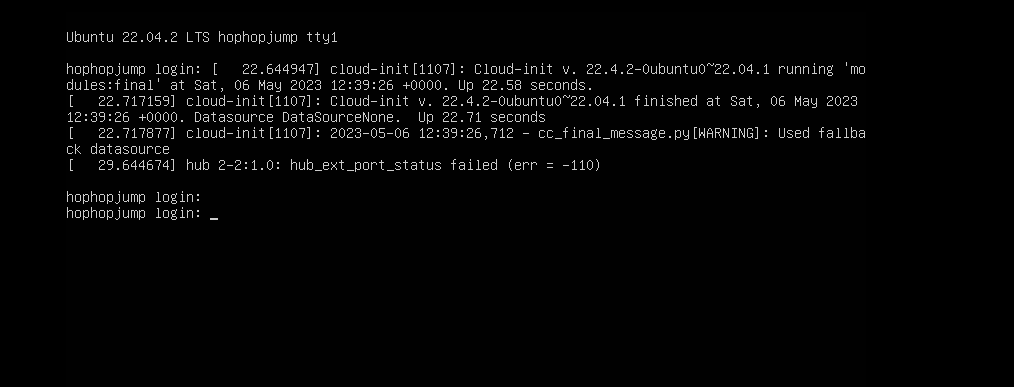
Starting the VM and straight away we will be greeted with this login. Shows that it runs on Ubuntu. I dont know what I was thinking at the time.. but I didnt have any thought of enumerating it with tools yet.The first thing that comes to my mind is.. “Maybe I could change the root password through Ubuntu recovery mode?”
-
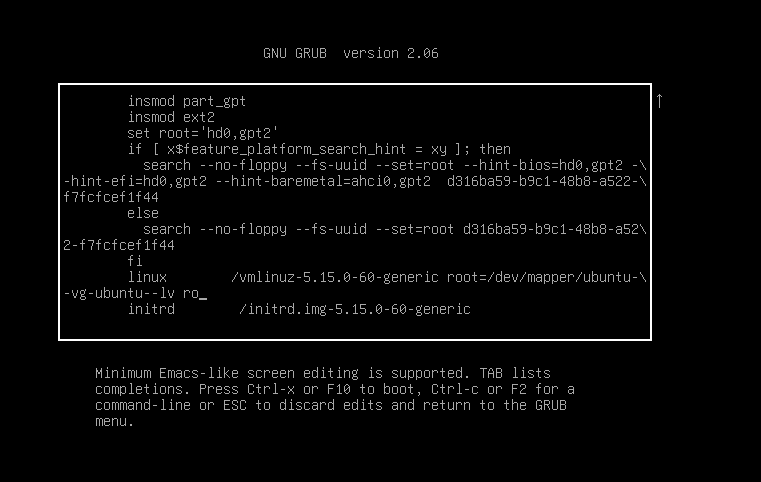
With that thought in mind, I then proceeded to boot into recovery mode through GRUB. You can access it by restarting the VM and spamming
esckey. Ubuntu GRUB recovery mode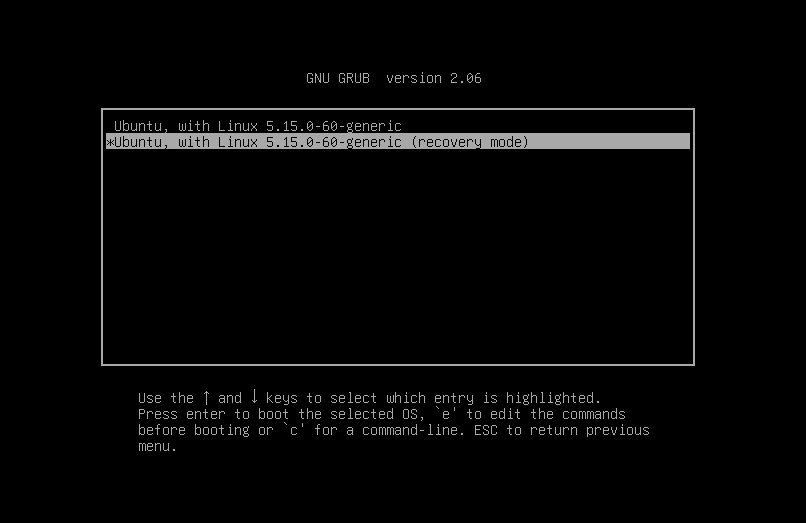
-
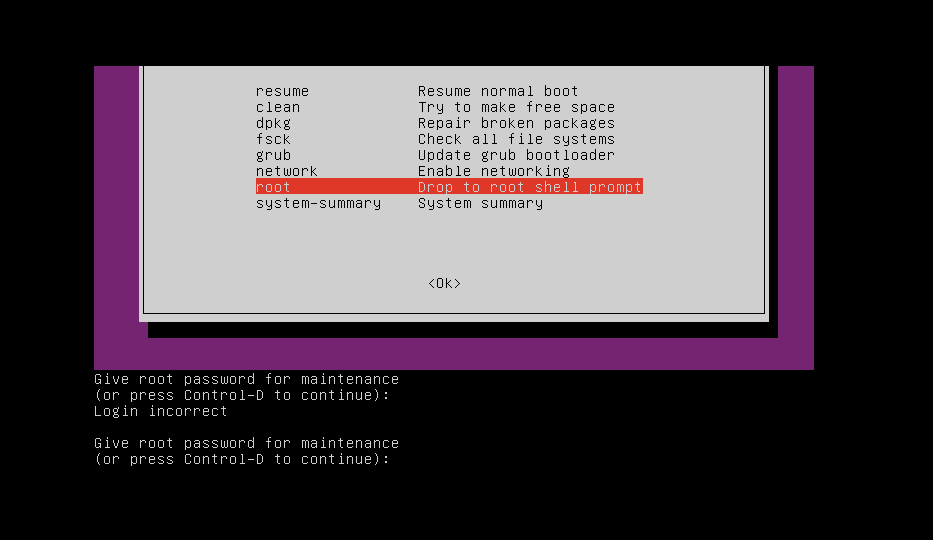
I tried entering the root shell on the recovery mode, but I wasn’t successful. It can’t be that easy right? Unsuccessful root shell access
-
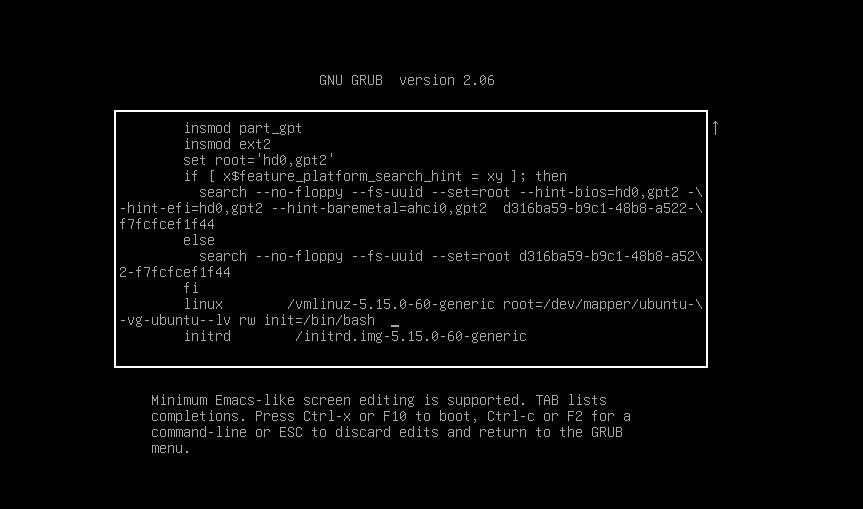
The next thing I did was restarting the VM once again.This time, I tried to boot into passwordless root shell by adjusting GRUB parameters. This is the default boot GRUB boot parameter for Ubuntu Changed ‘ro’ line to ‘rw init=/bin/bash’
-
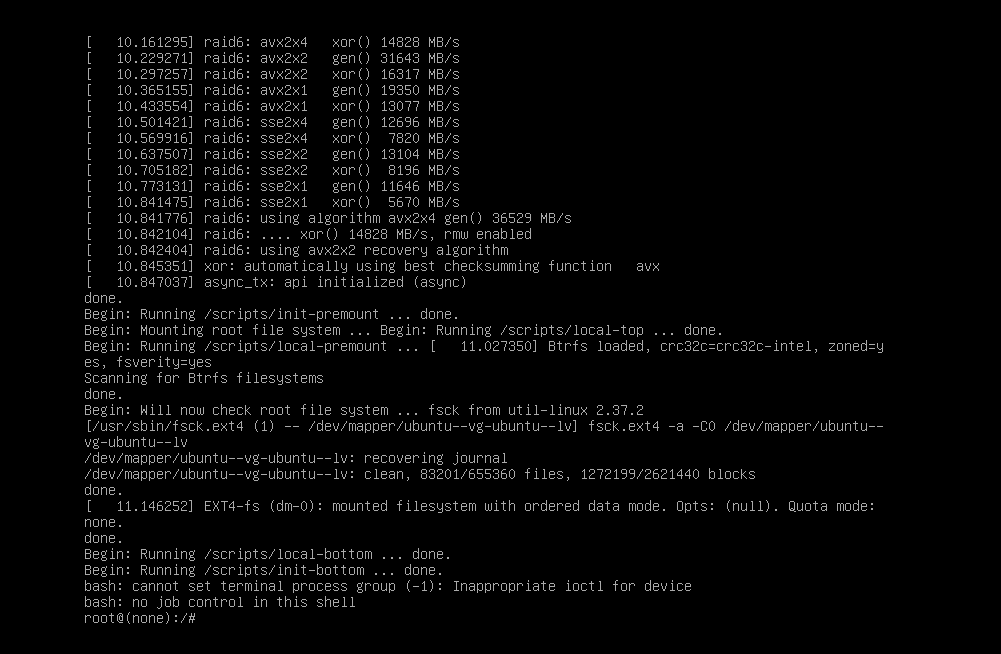
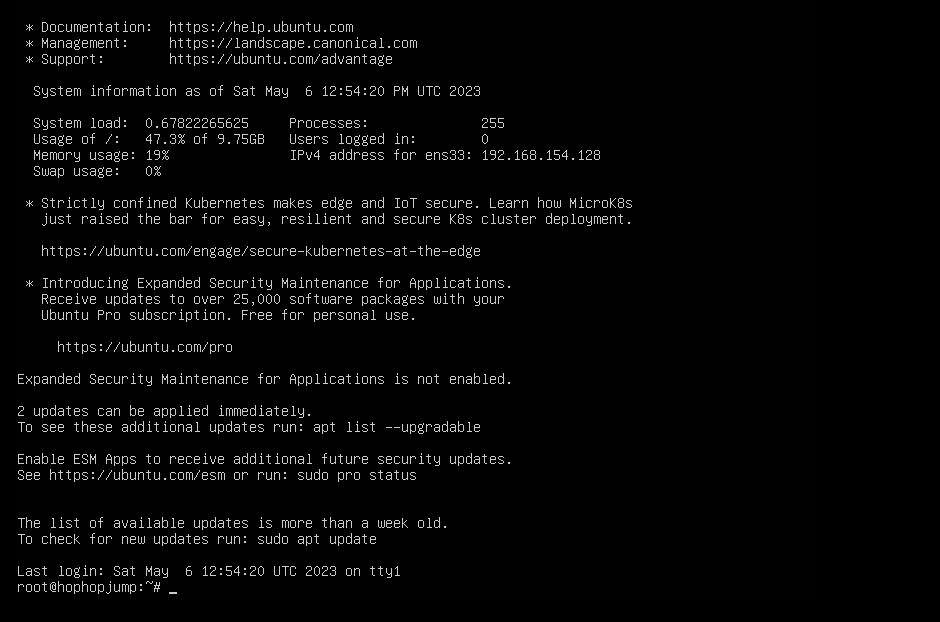
Boot into it and hopefully it works. And it does! We just got into the passwordless root shell. Successful root shell access
-
First thing I did was changing the
rootpassword to my own custom password. Successful password change
-
Then I restarted the VM once again, and tried logging in as
root. And.. I was able to get access into therootuser. Successful login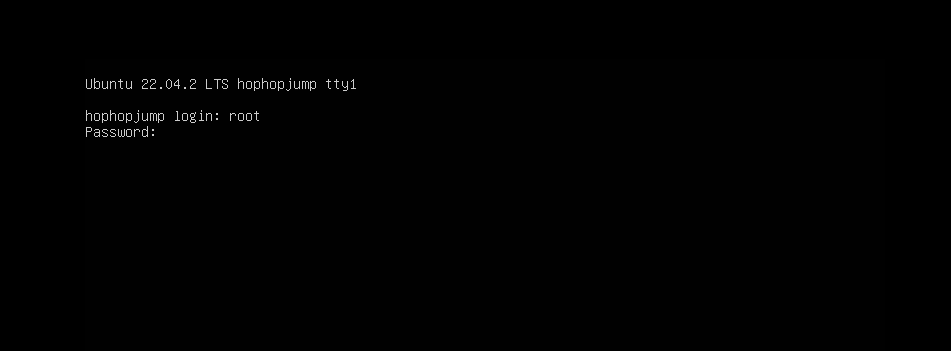
-
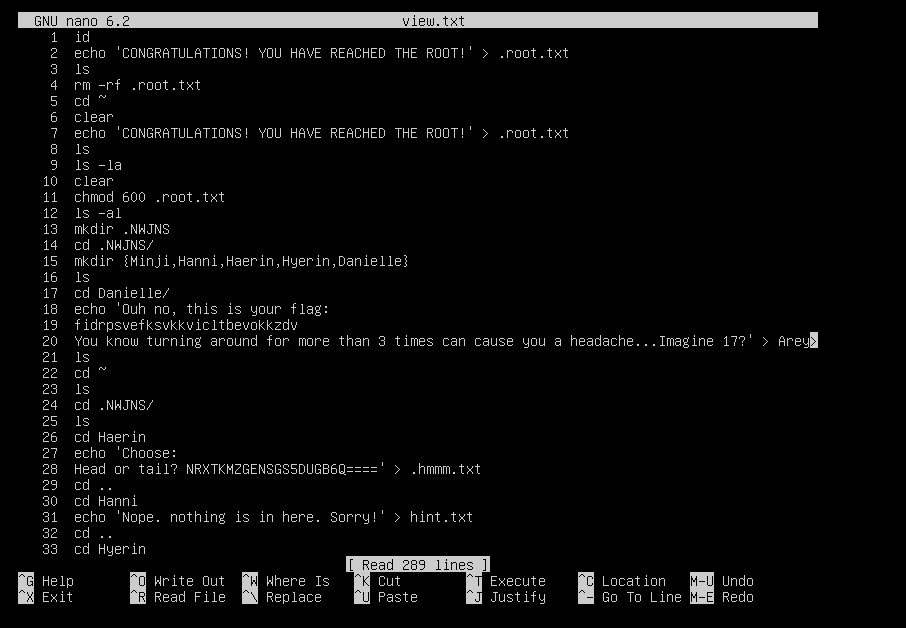
Now, let’s check the
historyand append it to a file namedview.txtand see if there’s anything interesting here.. Commands history
-
Further inspection in the
history, I found two interestingbase64andbase32encoded text.Maybe it’s the flag we are looking for?
-
Let’s try spinning both of them up in Cyberchef. Tail part of the flag Head part of the flag
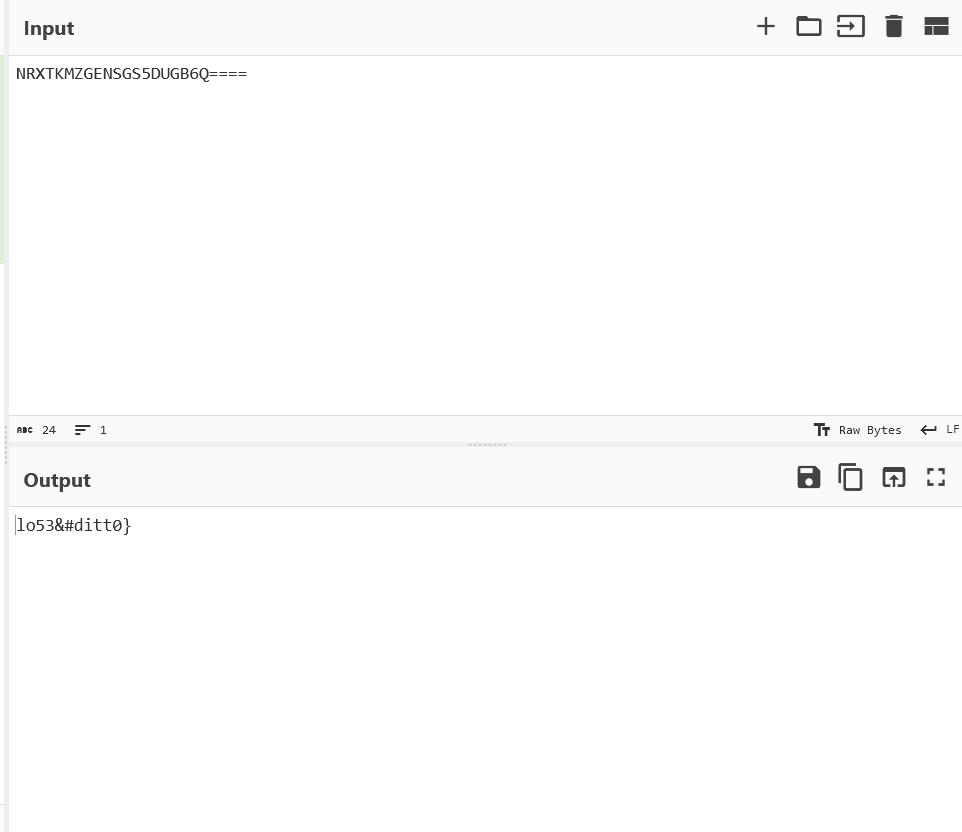
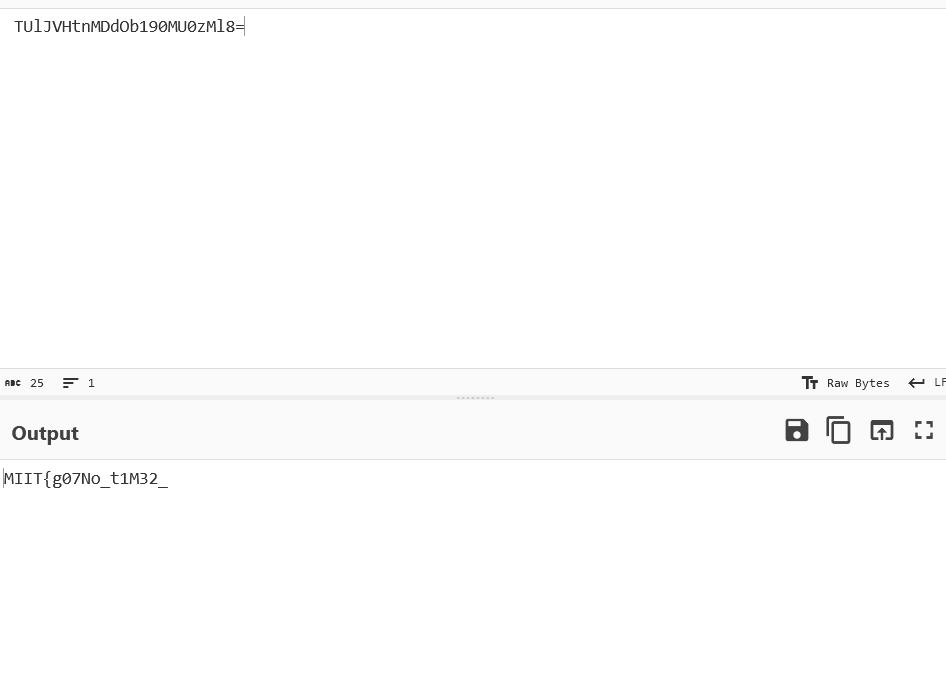
- And now we have found the first flag! MIIT{g07No_t1M32_lo53&#ditt0}
- But, it’s not over yet… There’s actually one more flag hidden inside this machine.
-
Further inspection in
history, I speculated that this machine maybe is running a web server and hosting a folder in/var/www/html/. Maybe someone could upload a reverse shell from there? -
Let’s check
/etc/passwdto see if there’s any other users that might be useful. /etc/passwd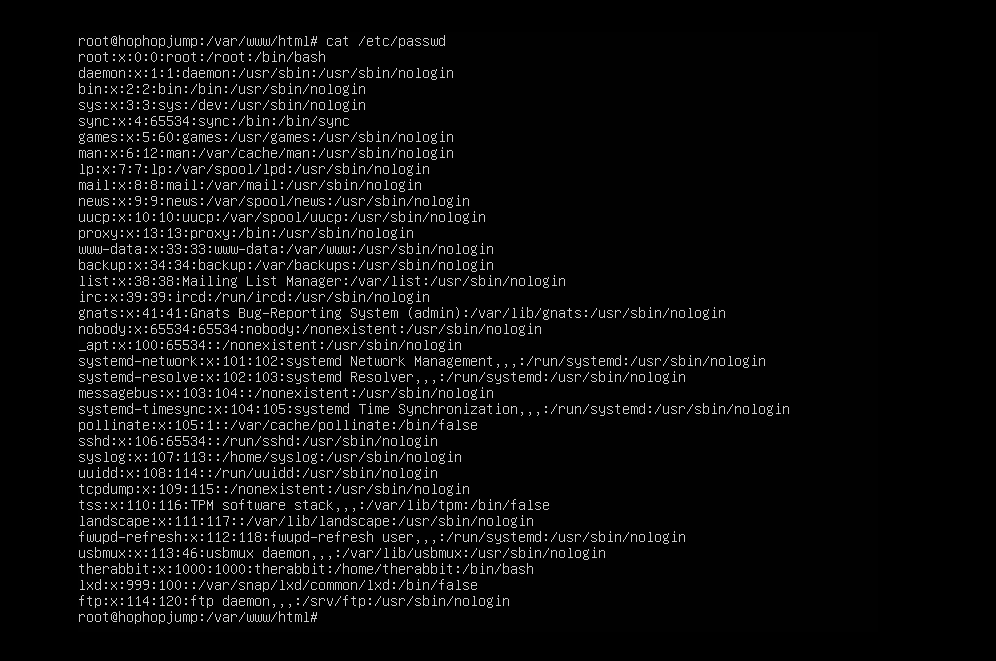
-
therabbituser seems interesting… maybe there is a flag inside? Let’s log into it. Folder with song lyrics n stuff..

-
Took me a while to notice the flag but finally I found the flag in
therabbit.txtintheRabbitfolder. Second flag found.
- Second flag MIIT{wH0_i5_H3#}
Final Thoughts
Overall this was a fun and interesting boot2root challenge. Even though what I was doing wasn’t the intended solution, I still learned few things here and there.
Thanks for reading my writeup!